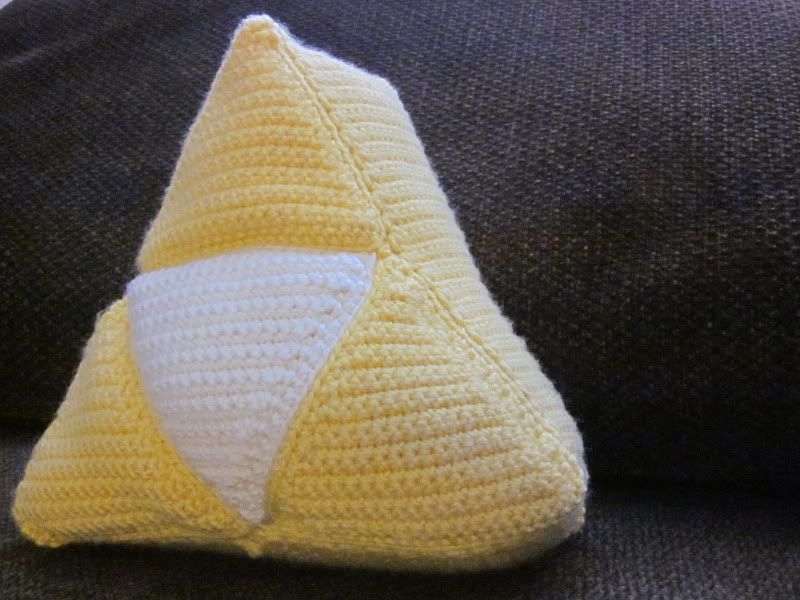
Hello all you crocheters, people who like tiny adorable things, and fellow geeks out there. Today, I'm here to share with you my pattern for The Littlest TriForce (Pillow)!
I actually made this for my boyfriend for our second Valentine's Day together, and I decided to improvise a pattern for something we'd seen pictures of online, and he'd mentioned wanting for awhile.
Unfortunately, while my pillow came out a little shorter and fatter than I had expected, but I found it really adorable in it's own way. If you'd like to make your own Itty Bitty TriForce, here is the pattern. You can always improvise to make it bigger (or smaller), if you'd like.
Triangles (Make 8. 6 Yellow, 2 White, to make 2 triforces):
Ch 25
Row 1: Sc in 2nd ch from hook and each ch across to end, ch 1, turn.
Row 2: Sc first 2 sc tog, sc to last 2 sc, sc last 2 sc tog, ch 1, turn.
Row 3 through 25 - Repeat rows 1 and 2, crocheting in every stitch on odd numbered rows and sc 2 tog on each end of even rows.
Border - Ch 1, sc evenly around tree edge, ss to first sc, finish off, weave in ends.
Sew the Triangles together as pictured, set both triforces aside.
Edging:
In Yellow, Ch 14. Now sc across until your strip of fabric is long enough to go around the triforces. For me, it was about 33".
Sew it all together! I sewed one triforce to the edging, then the second, being sure to sew it on inside-out, then turning it so it wasthe right way. I left a slot at the bottom for the stuffing to be put in, and then sewed it up after I filled it with Poly-fil.
Now you have your own little Triforce! Have fun :)
This blog was born from my inability to express myself through anything besides the things I create with my hands. From baking to writing, I love expressing myself, and maybe even teaching and inspiring other people to do so along the way.
Tuesday, February 28, 2012
Friday, February 10, 2012
First Article of Clothing!
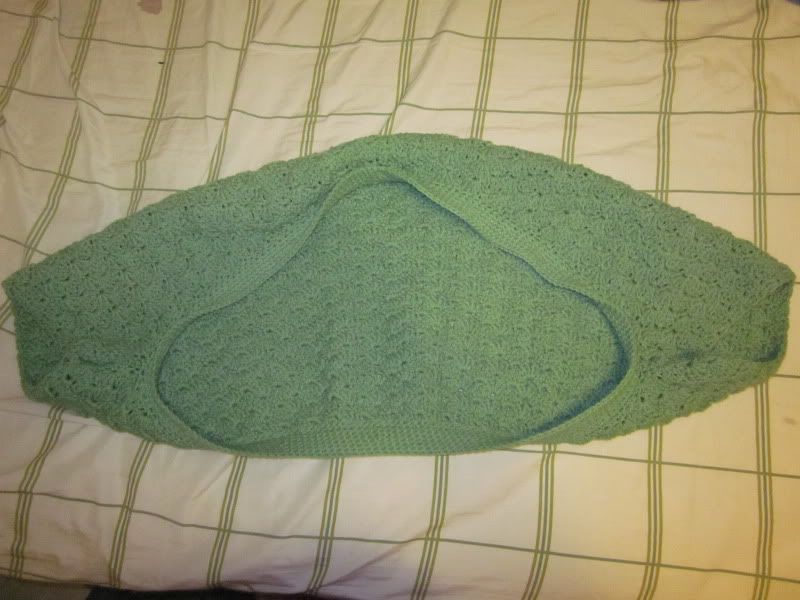
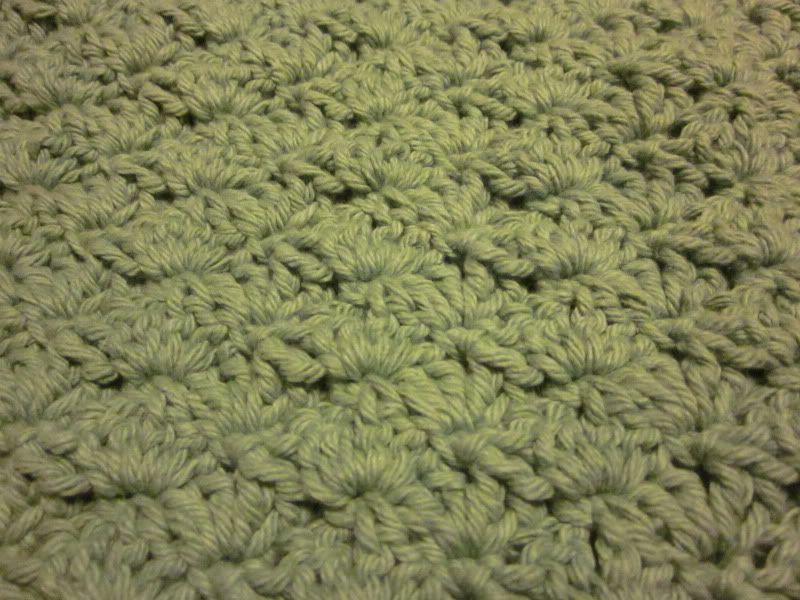
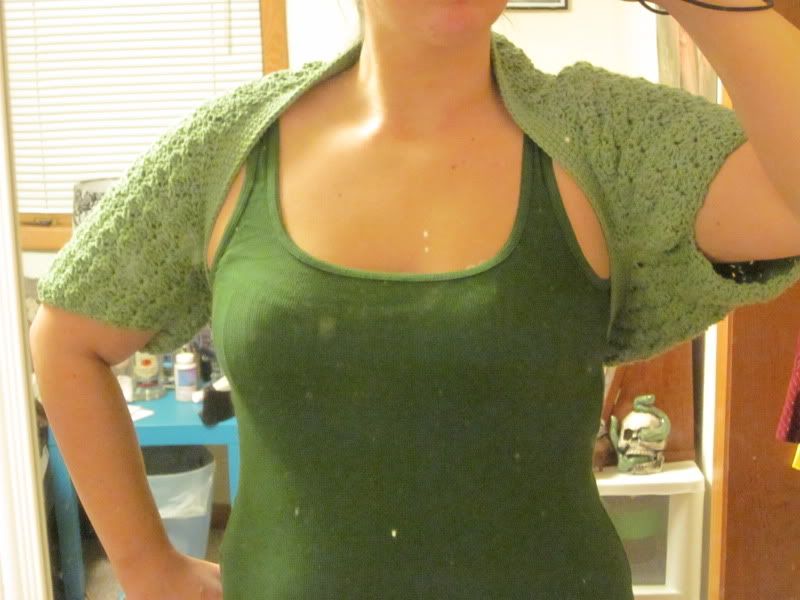
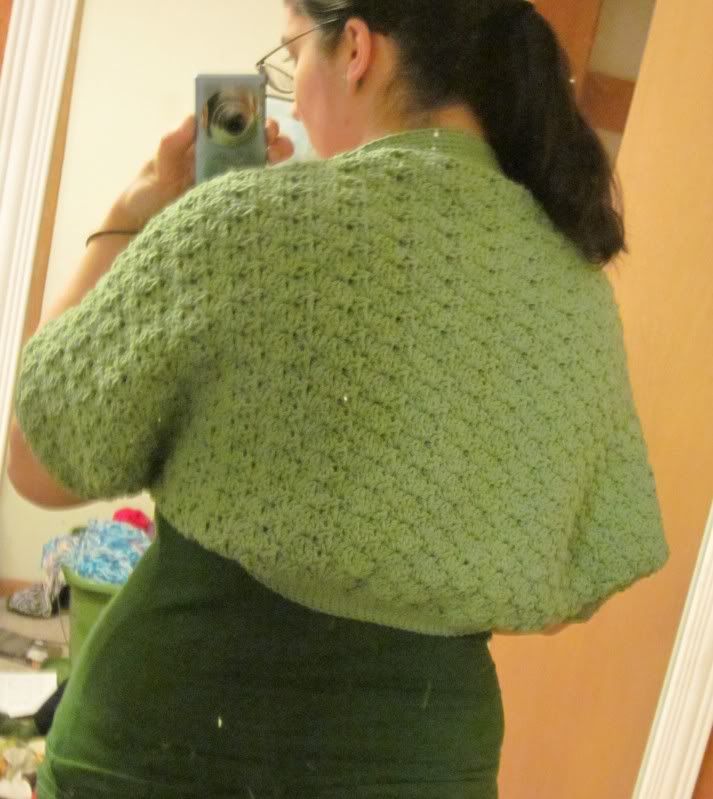
I am super psyched! Although it may be simple, it may fit awkwardly, and one sleeve may or may not be (hint: it is) bigger than the other, I made my first piece of clothing, and I really like it! I used this pattern to make what I have dubbed my Super Simple Grass Green Shell Shrug! The pattern is a bit iffy, and making the large, I had to make the base chain quite a bit bigger than it says for it to be 33" across, but besides that it was fine. All in all, you'll spend 90% of your time making shell after shell after shell, then you fold it in half to sew together the sleeves, and then make an edging.
This took me just under a month to do, since making roughly 1,000 shells was no exciting task.
I used Bernat Handicrafter cotton, which will hopefully make it nice and cool and comfortable once the spring and summer months come up. I really like shrugs, but don't own any for some reason. I am pretty sensitive about my shoulders (the left one has suffered some pretty bad burns, and I dread the "what happened?" question). I'm excited to make more shrugs, and to now expand my camisole collection, since I'll soon be able to wear them in public :)
I enjoyed making this, and can't wait to make more of my own clothing! I have decided 2012 is a year of big projects, and I'm certainly on the right track so far.
Subscribe to:
Posts (Atom)
